
Transitioning to a renewable energy ecosystem often involves a complex interplay between sophisticated hardware installations and the intricate regulatory requirements imposed by local utility providers. As residential solar technology advances toward the integration of the Tesla Powerwall 3, the homeowner’s role has shifted from a passive consumer to a critical quality control supervisor. Recent deployment experiences in regions such as Georgia highlight the necessity of active oversight during the multi-stage installation process to avoid long-term operational friction. Success in these projects depends on a combination of meticulous documentation, adherence to specific regional utility codes, and the physical verification of structural integrity. Without such vigilance, the transition to sustainable power can be marred by administrative delays or technical inefficiencies. This guide explores the essential steps for ensuring that a Powerwall 3 installation meets both performance expectations and the stringent standards of modern power grids.
Precise Documentation: Securing Internal Hardware Data
Internal components of energy storage systems are often inaccessible once the protective casings are secured and the units are fully commissioned. Homeowners are strongly advised to capture high-resolution photographs of all internal labels, serial numbers, and QR codes before the installers seal the Powerwall 3 chassis. These data points are vital for future troubleshooting, warranty claims, and software updates that may require manual pairing or credential verification. In particular, recording the unique Wi-Fi credentials and the installation-specific barcode located inside the cabinet ensures that the homeowner maintains direct access to the system’s backend interface. Having these records readily available simplifies interactions with customer support and technical experts should the system require reconfiguration. This proactive step prevents the need for physical deconstruction of the unit during future maintenance cycles, thereby preserving the structural seals and reducing the likelihood of moisture ingress or environmental damage.
Beyond physical hardware labels, maintaining a physical copy of the approved engineering plans is indispensable for verifying the technical accuracy of the setup. These documents detail the specific layout of the solar array and the internal string configurations that dictate how energy flows from the panels to the inverters. Homeowners should actively compare the actual installation against these permitted diagrams to ensure that the technicians are adhering to the designs approved by local authorities. Discrepancies in panel placement or wiring paths can lead to significant issues during final inspections or when seeking permission to operate from the utility company. By confirming that the Maximum Power Point Tracking (MPPT) strings are correctly distributed, users can ensure that the system operates at peak efficiency. Understanding the logic behind the string arrangement also aids in identifying underperforming panels in the future, as it allows for a clearer diagnosis of whether a drop in production is related to a specific hardware string.
Structural Integrity: Navigating Utility and Physical Constraints
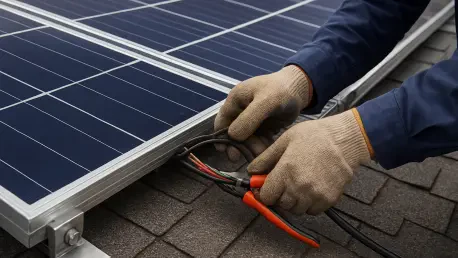
Physical oversight extends to the roof, where the longevity of the solar array depends heavily on the quality of the cable management. It is crucial to verify that no electrical wiring is left resting directly on the shingles, as exposure to heat and friction can degrade insulation and create fire hazards. All cables must be properly clipped and secured using UV-resistant fasteners that keep the wiring elevated and protected from the elements. Furthermore, the choice between routing conduit through the attic or along the exterior of the house involves a trade-off between visual appeal and maintenance access. While interior routing offers a cleaner aesthetic, it can sometimes result in higher panel placement that creates space for wildlife to nest beneath the array. If panels are mounted higher to accommodate conduit, installing critter guards becomes a necessary addition to prevent squirrels or birds from damaging the wiring. These structural considerations are often overlooked during the initial sales process but are critical for the long-term durability of the system.
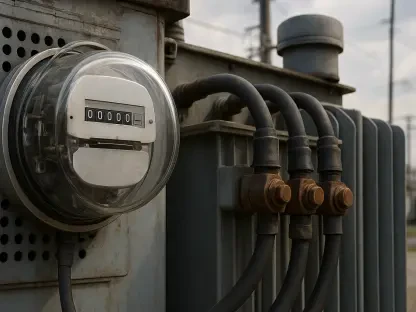
The installation phase concluded with a rigorous commissioning process, yet the journey toward full energy independence often required navigating extensive bureaucratic hurdles. Even after the hardware was successfully mounted and the software was initialized, many homeowners faced significant wait times for Permission to Operate from utility providers. In various cases, these delays extended from several months to over a year, primarily due to the need for utility-side infrastructure upgrades such as transformer replacements. Those who navigated this process effectively prioritized early communication with their power companies to identify potential grid capacity issues before construction began. The integration of advanced battery storage proved to be a vital safeguard against increasing grid instability and fluctuating export rates. Efficiency was maximized by those who transitioned toward self-consumption models, where stored energy was used during peak hours rather than exported at lower rates. This proactive approach prepared users to play an active role in the modern energy landscape.